WPB WooCommerce Custom Tab Manager PRO Documentation
Installing :
Go to your site admin > navigate to Plugins > Add new. Upload the downloaded zip file here. Then active it.
Adding Custom Tabs:
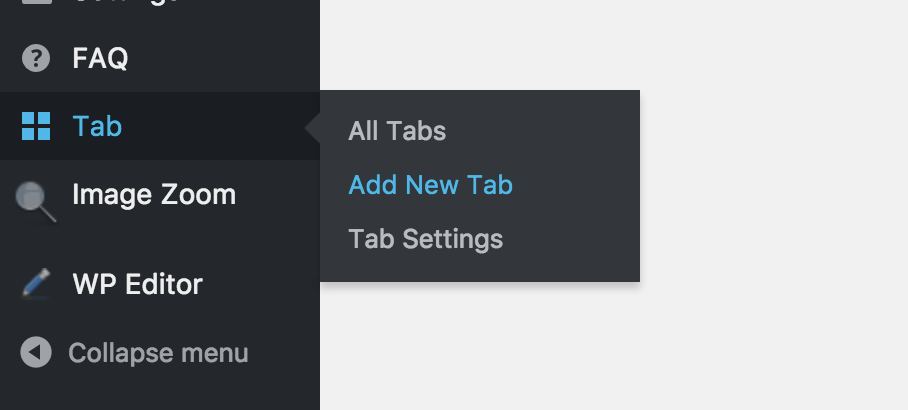
For adding a new custom tab, go to your site admin navigate to Tab menu > Add New Tab.
Here you will see a page like adding a new post. Add your custom tab title and content. You can also add tab subtitle & icon if you need. You can set your new tab priority. The priority is used for ordering the custom tab. The ordering will work lower to upper. That means the small number of priorities will be shown first.
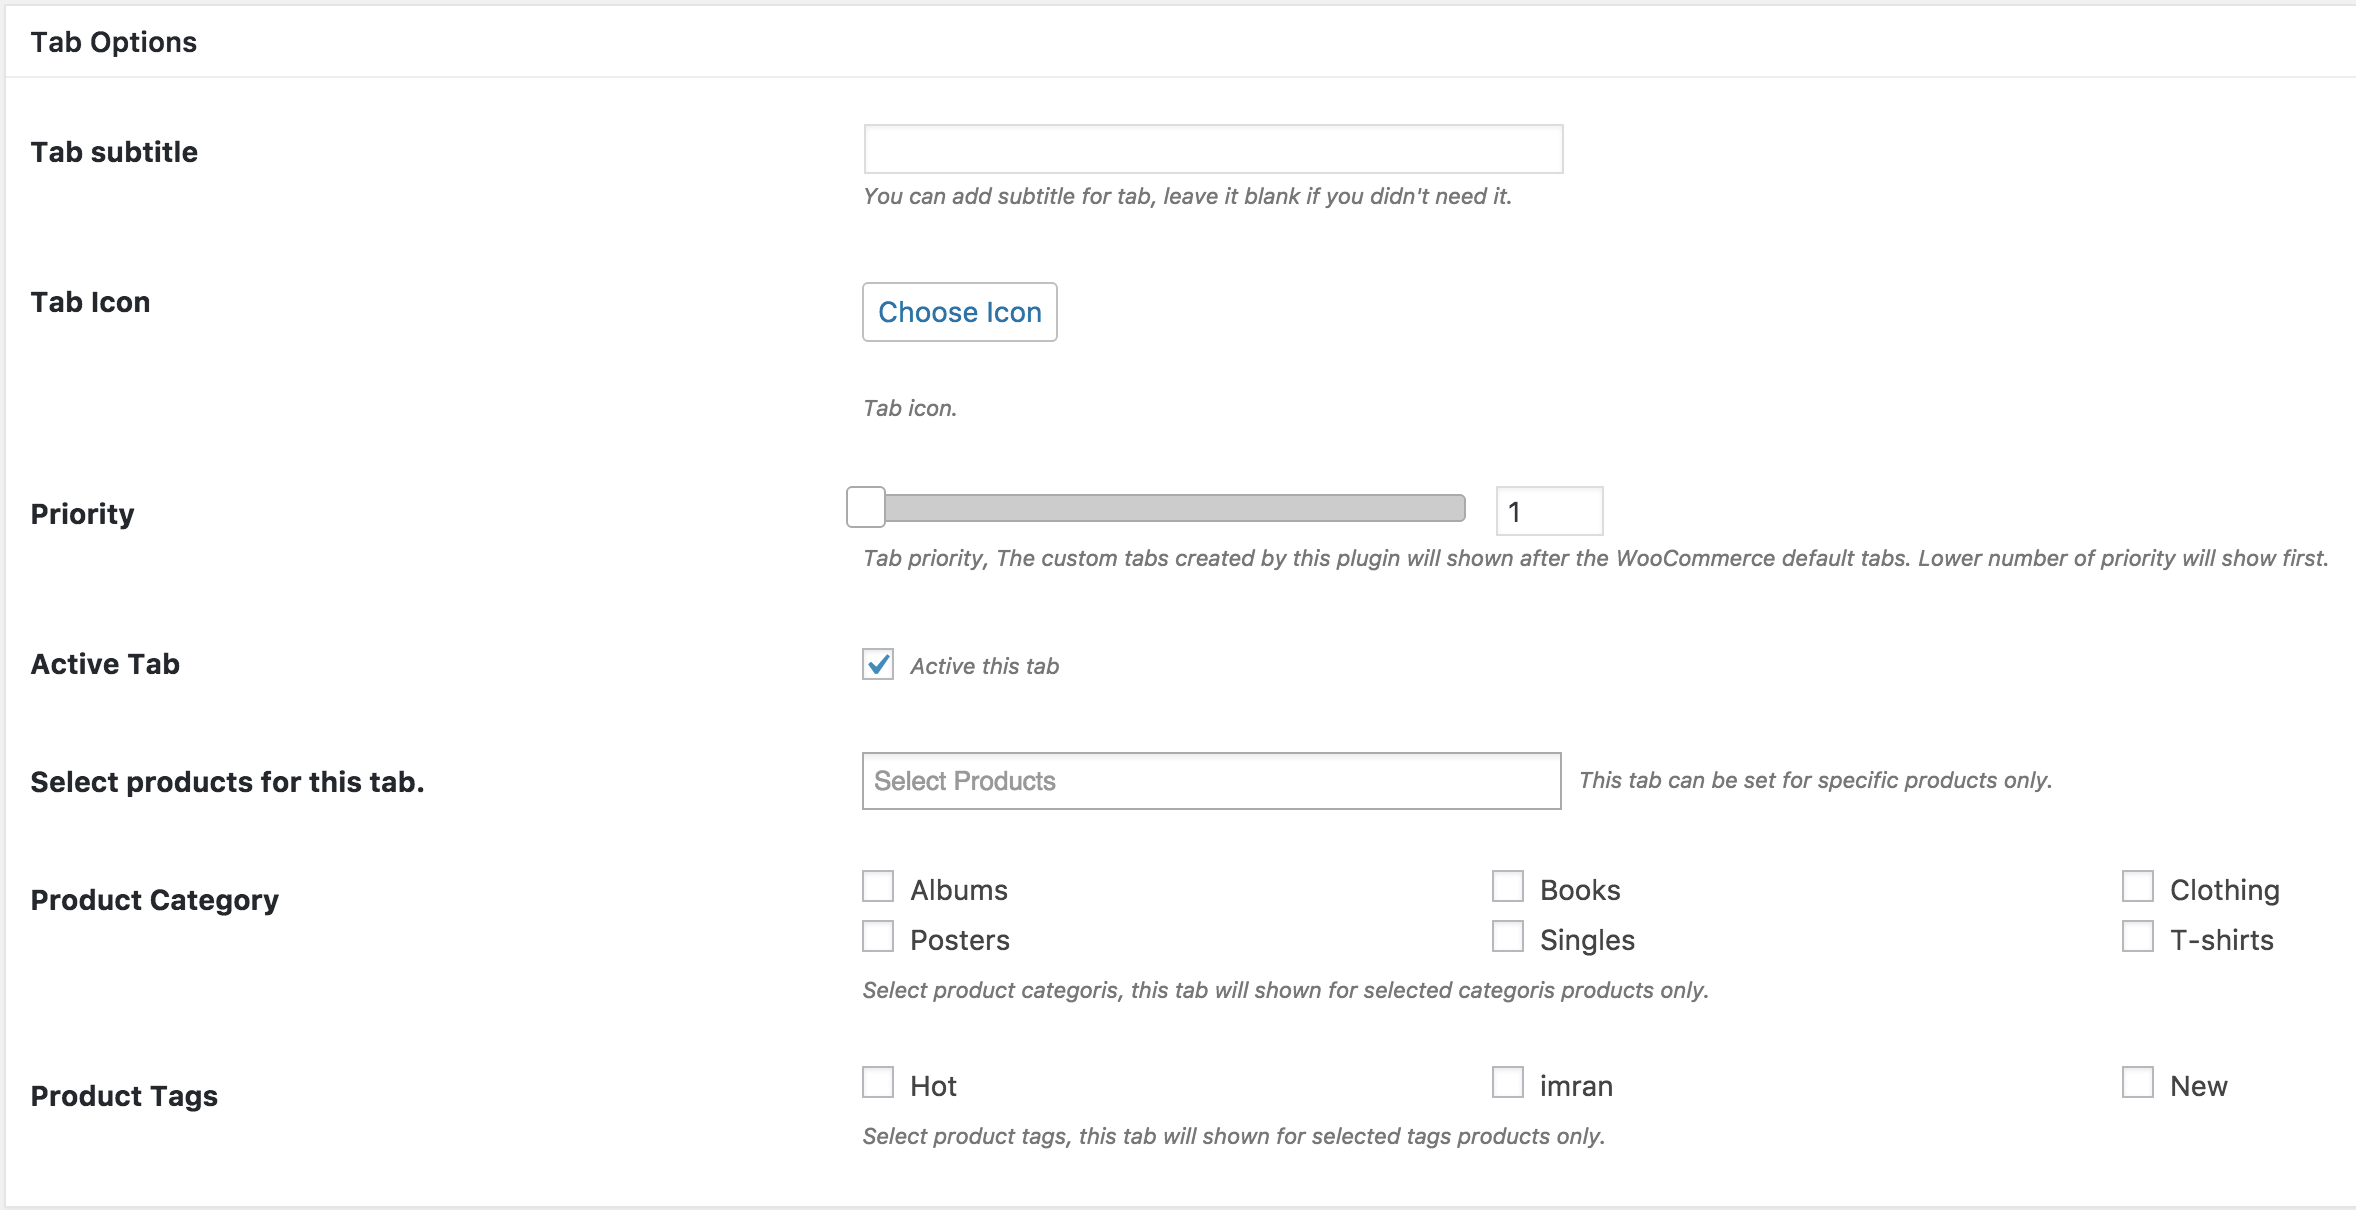
Bellow the tab priority you will see a checkbox for active or deactivate the custom tab. If you activate it, the new tab will be shown to all the products you have. If you deactivate it new tab is not going to show, then you can set this tab for any product from the product edit page. See the screenshot below –
If you want to show the new tab only for some selected products, you can set it from the tab edit page, Just select some products from the products select box. Make sure your tab is active.
Or even you can set the new custom tab for any product category or tags. Just check those checkboxes.
Product Edit Page Tab Options :
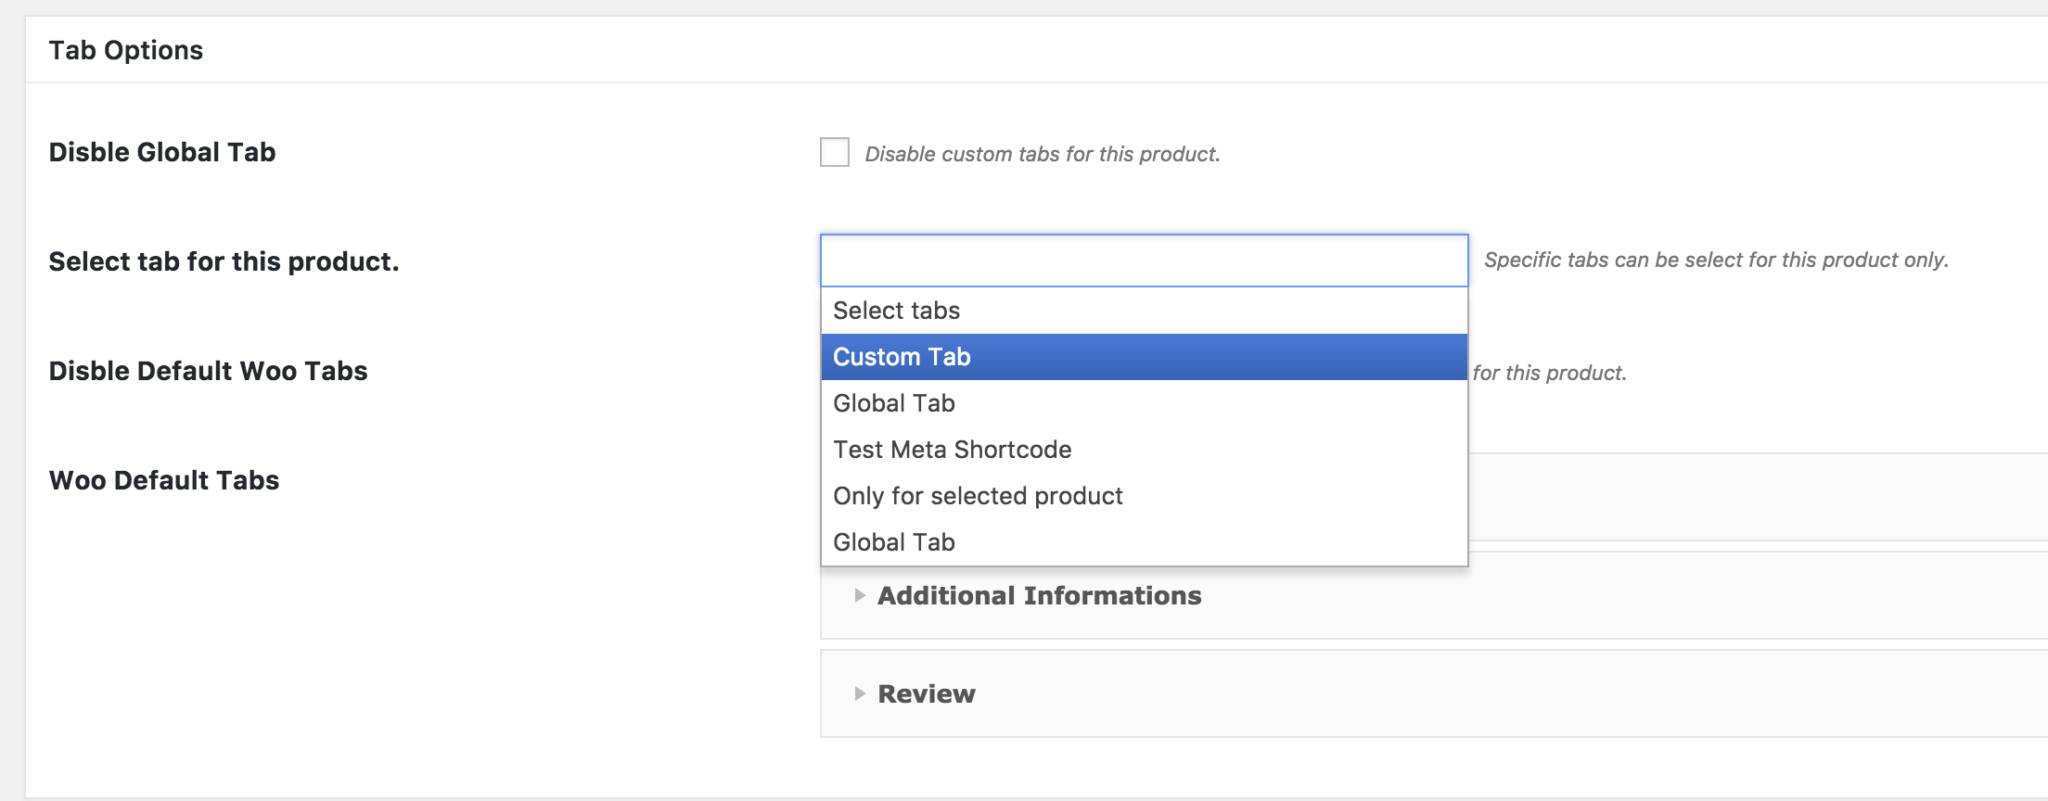
In your products edit page, you will see a tab options box like the screenshot below –
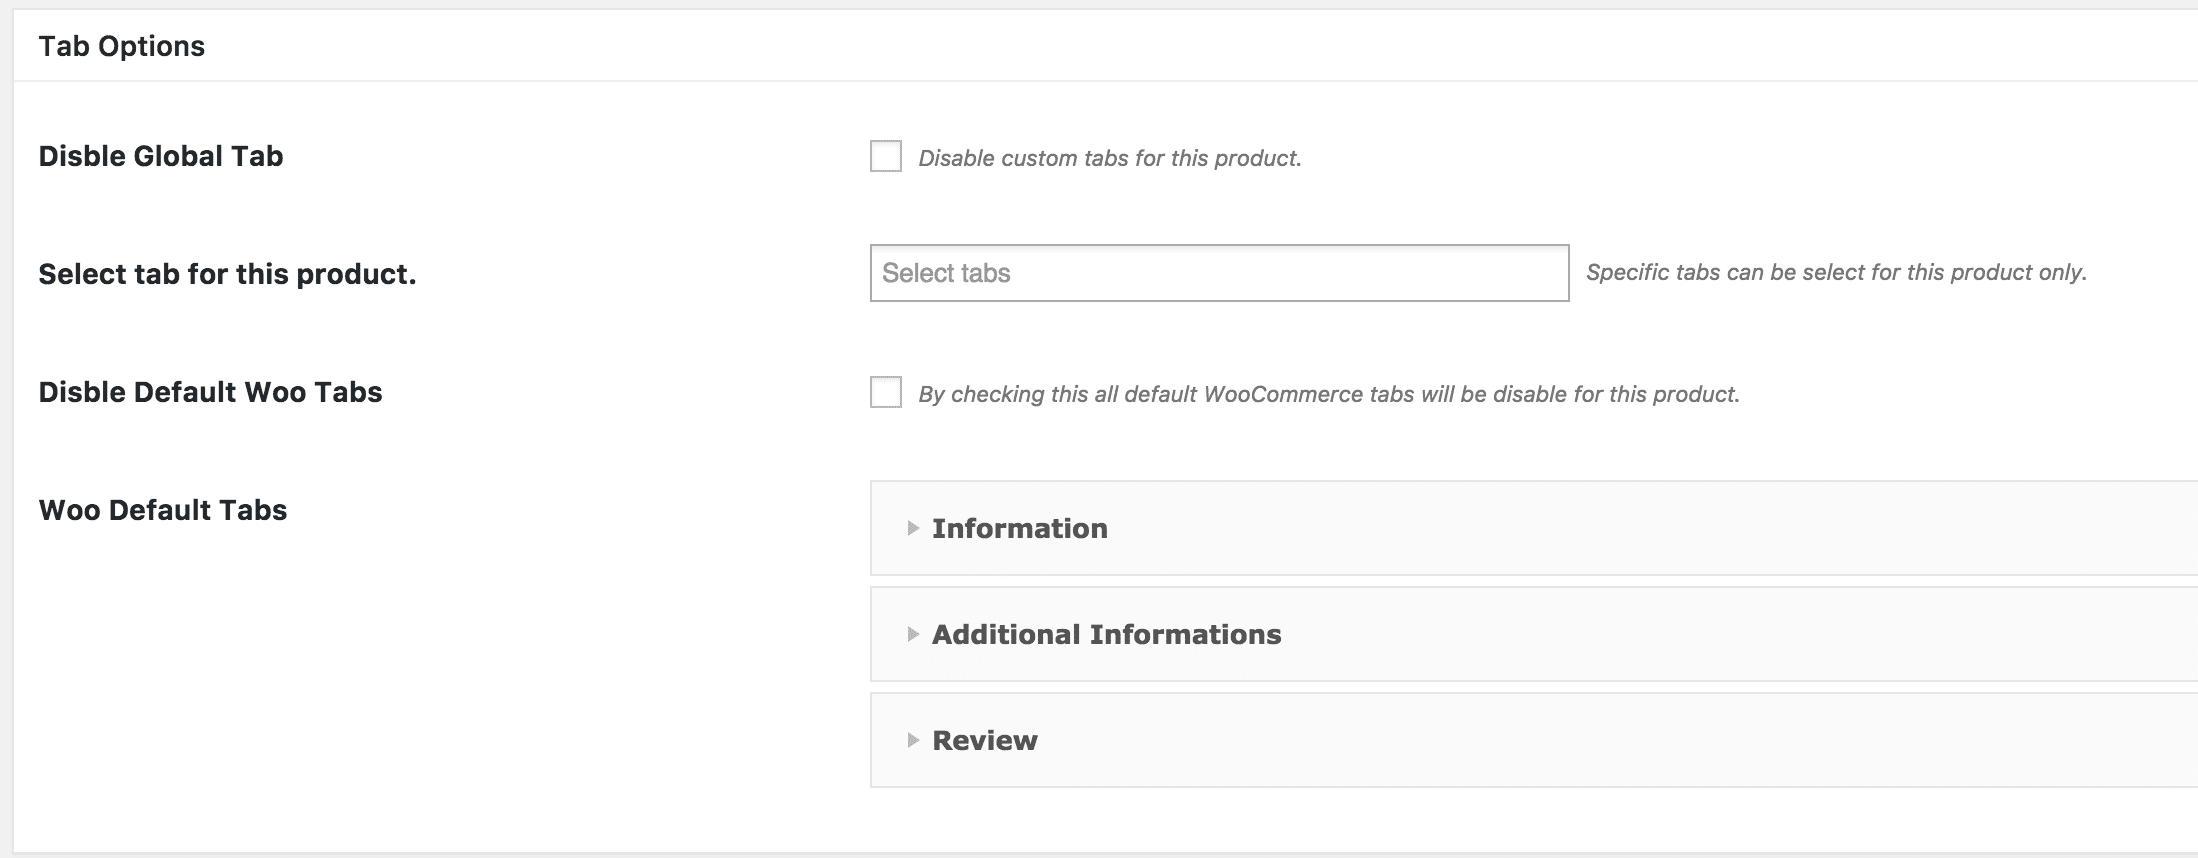
Here you will see a check box for disabling all the global tabs. If you want to set specific tabs for any products you can check this and select some tabs from the tab select box. There is another checkbox to disable all the default WooCommerce tabs.
From here you can override the default WooCommerce tabs as well. Just add your custom content. For the additional information tab, make sure your product has additional information.
Update: We added two new ShortCode in this plugin for additional information & reviews. If you want to keep the default additional information & reviews tabs content and add some extra content just place the shortcode with your content. ShortCodes and example screenshot bellow –
[wpb_wctm_additional_information]
[wpb_wctm_review]


Or you can add the following code to your theme functions.php file, it will add the default additional information with our custom additional information tab content.
Add variable content to the custom tab :
You may want to add a custom tab in which content will be different for each product. Follow the instructions below for doing that –
First, you have to add a custom text area meta box for the product. You can do that using custom code or any MetaBox plugin. I am going to demonstrate here a free plugin called Advanced Custom Fields. Just install this plugin to your site and add a custom text area meta box to the product post type. Follow this plugin documentation for details about it. Now we have a custom text area field on the product edit page, and we have a field name/field key.

Now the second step. Go ahead and add a new custom tab. In the new custom tab content area, add the following ShortCode.
[wpb_wctm_meta meta_key="your_meta_key_here"]
The meta_key parameter will be the field name/field key that we created with the advanced custom fields plugin.
This shortcode accepts one more parameter called post_id, it’s an optional parameter. You can add this parameter to call any other post types meta fields value. By default, if you do not add this parameter the shortcode will look for the current product meta value.
Example :
[wpb_wctm_meta meta_key="your_meta_key_here" post_id="955"]
Here 955 is the post id.
Everything is set now. Now from the product edit page, you can manage this custom tab content. The custom field content will be shown to the tab content. See the documentation video for details.
Update:
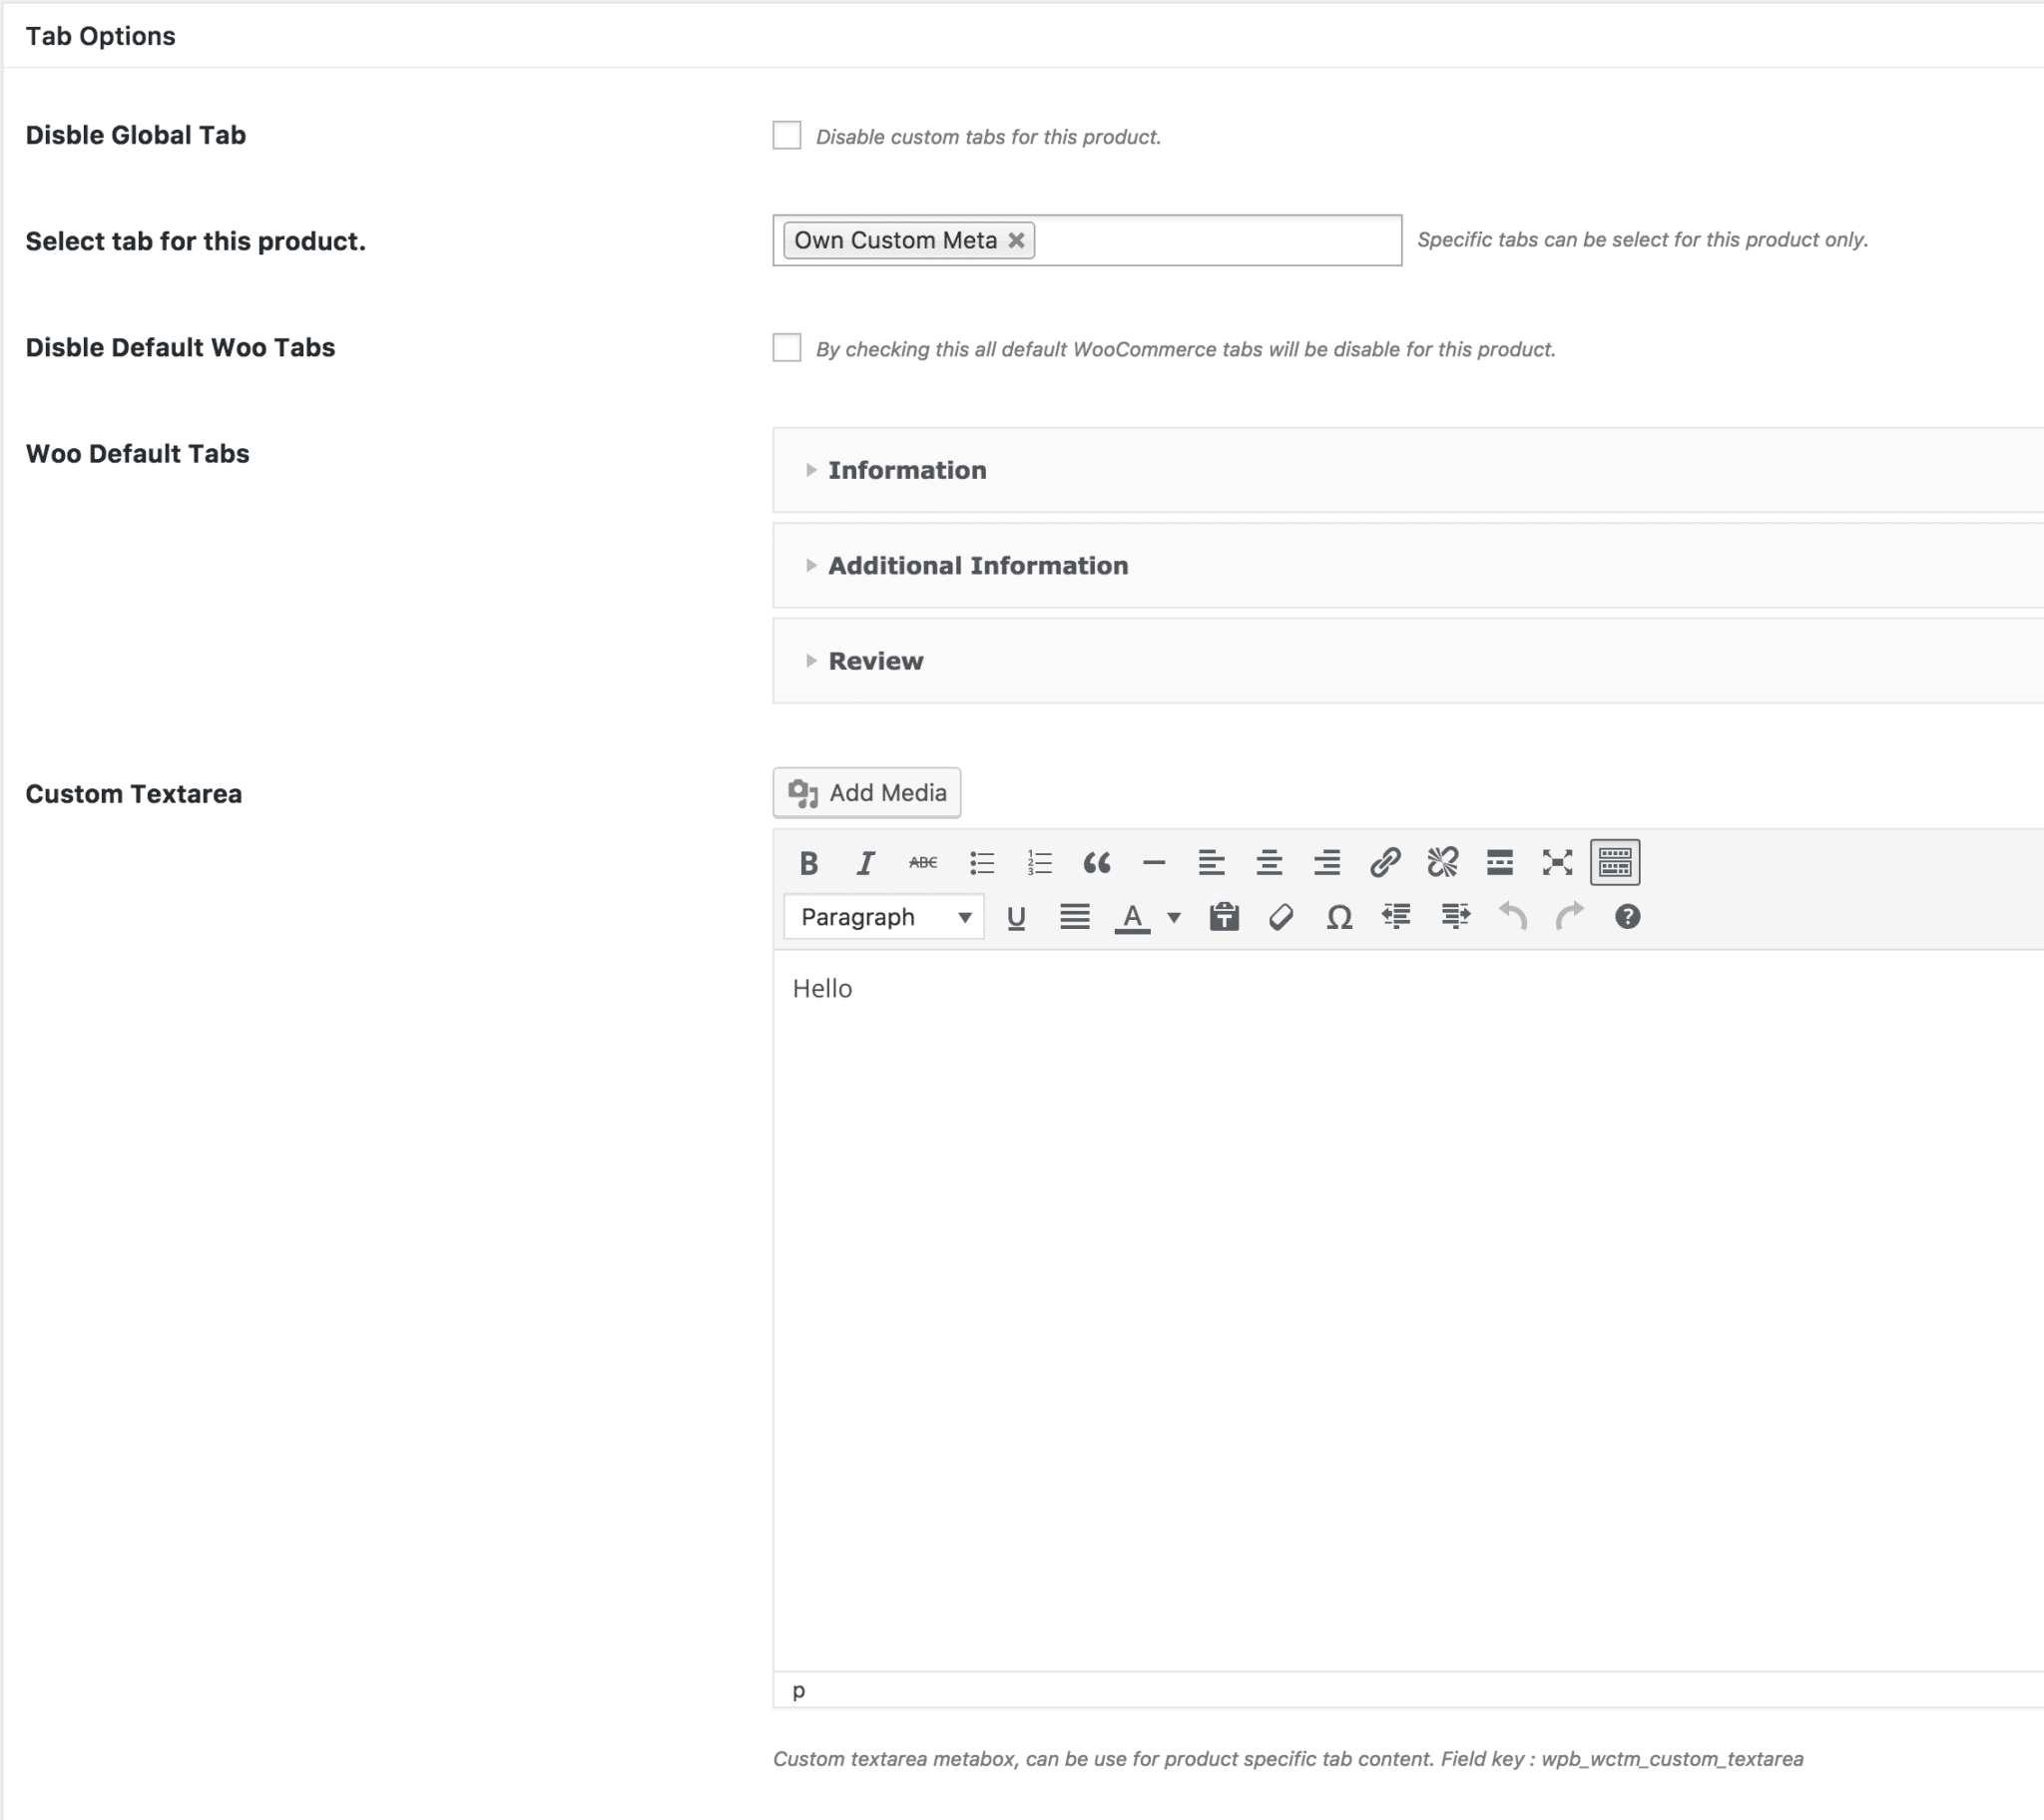
We added a custom textarea editor meta box field support in this plugin’s version 1.02.8. Go to this plugin settings and enable the custom textarea if you need it.

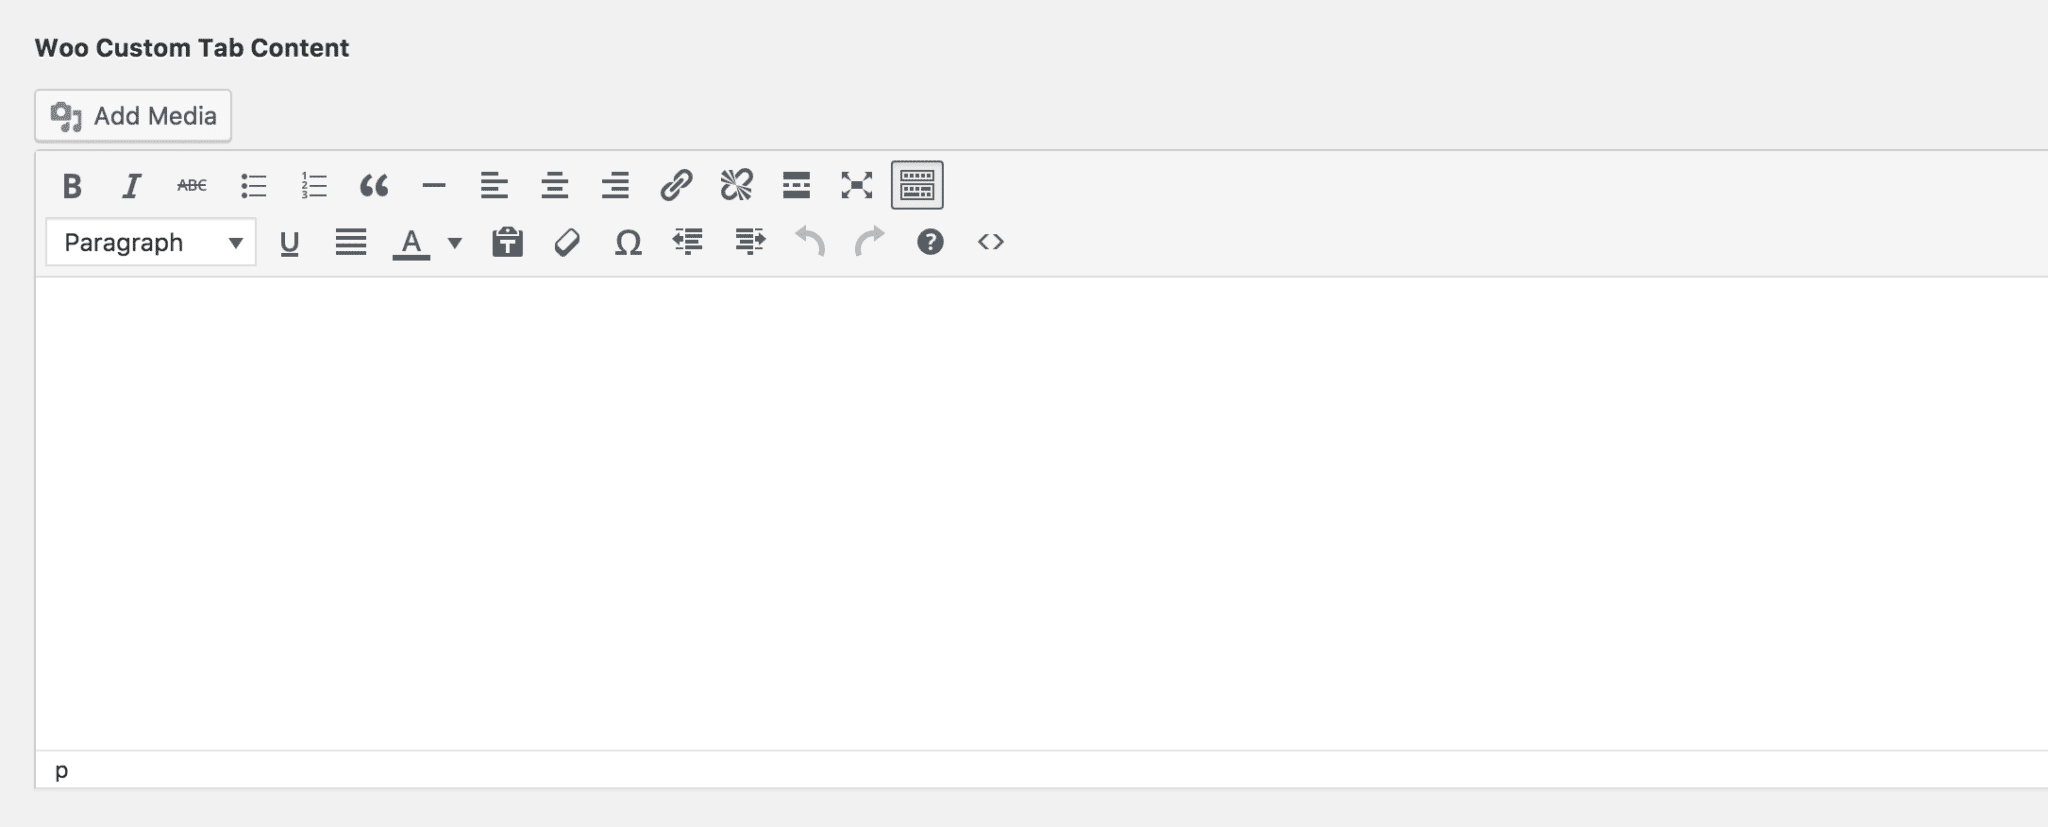
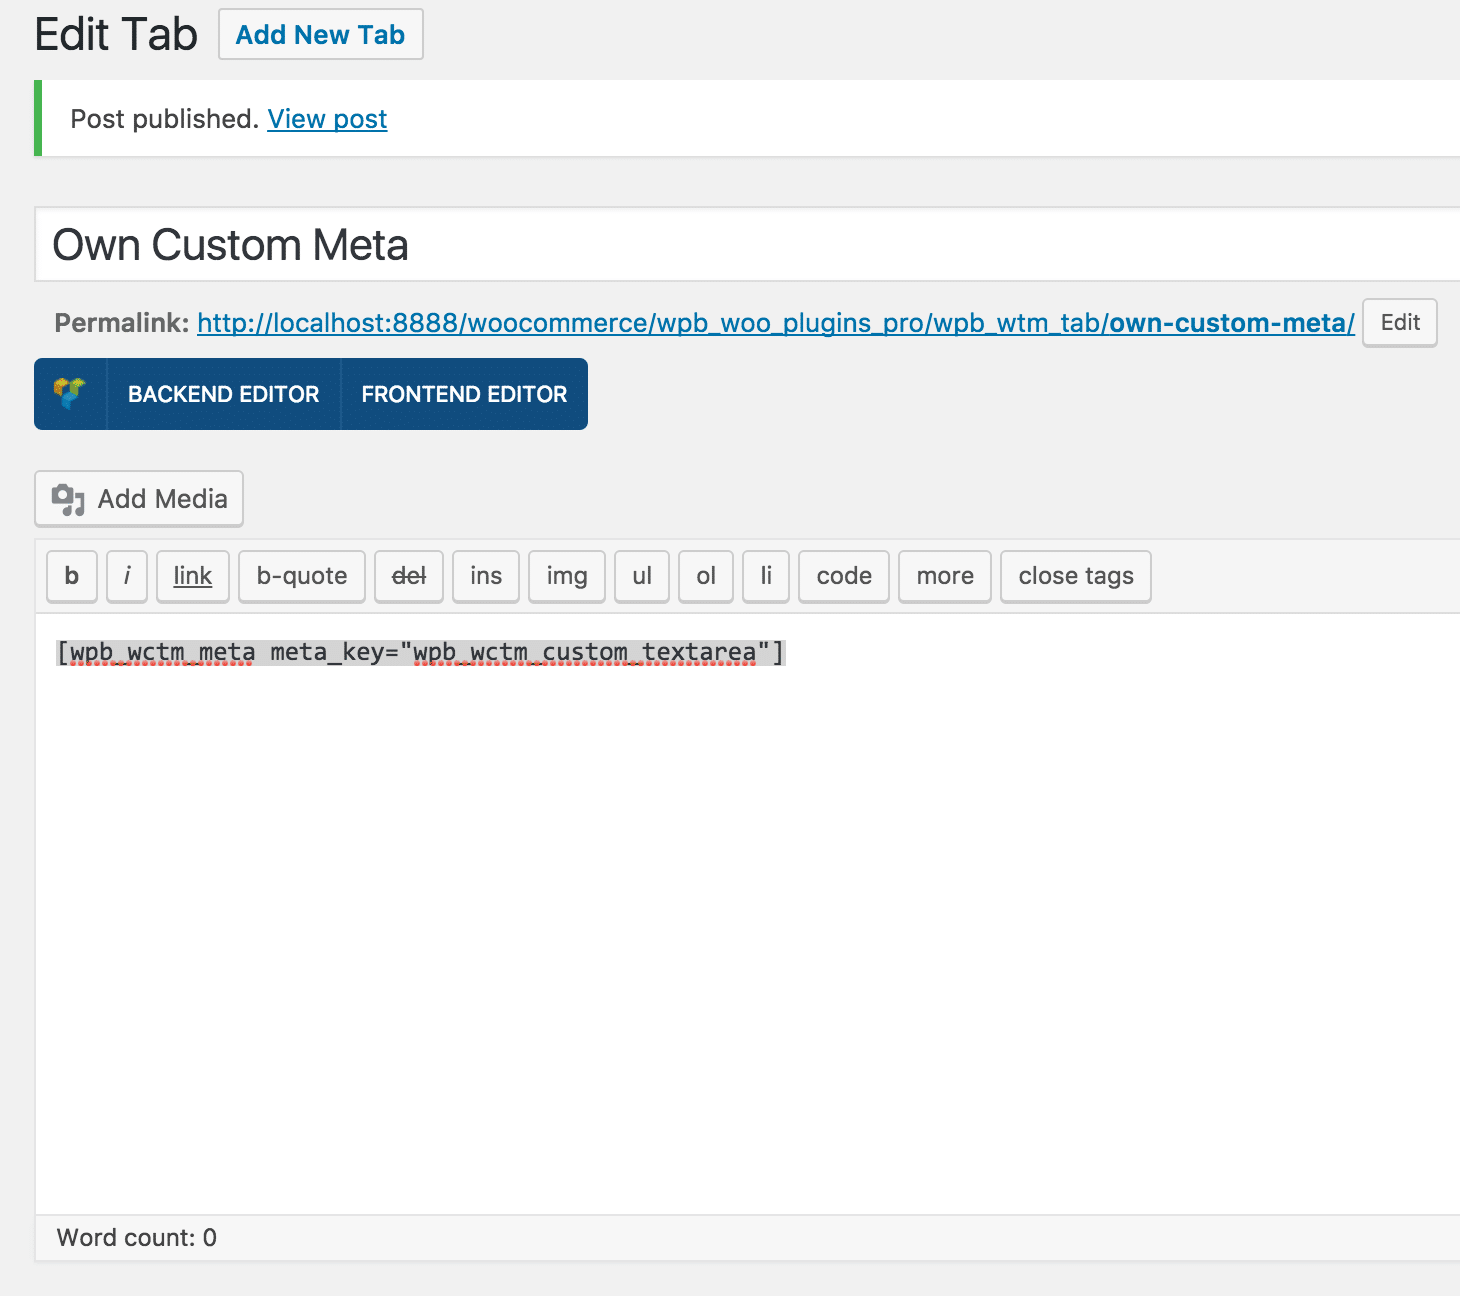
After enabling the custom textarea go to the product edit page and you should see a custom textarea in the tab option box like the screenshot below. You can add your content here that you want to show in the custom tab. This field key is wpb_wctm_custom_textarea, Now go ahead and create a custom tab and add the following ShortCode in the tab content area.
[wpb_wctm_meta meta_key="wpb_wctm_custom_textarea"]
Showing the tabs :
If your theme or page builder does support drag and drop product builder then you may not see custom tabs on the tabs. For example Divi builder.
In that case, you need to add our shortcode to the product builder for showing our tabs. Just remove the builder tabs widget and add our shortcode there.
Here is the ShortCode for that:
[wpb_wctm_product_tabs]
Tab Settings :
You can customize the tab output from tab settings.
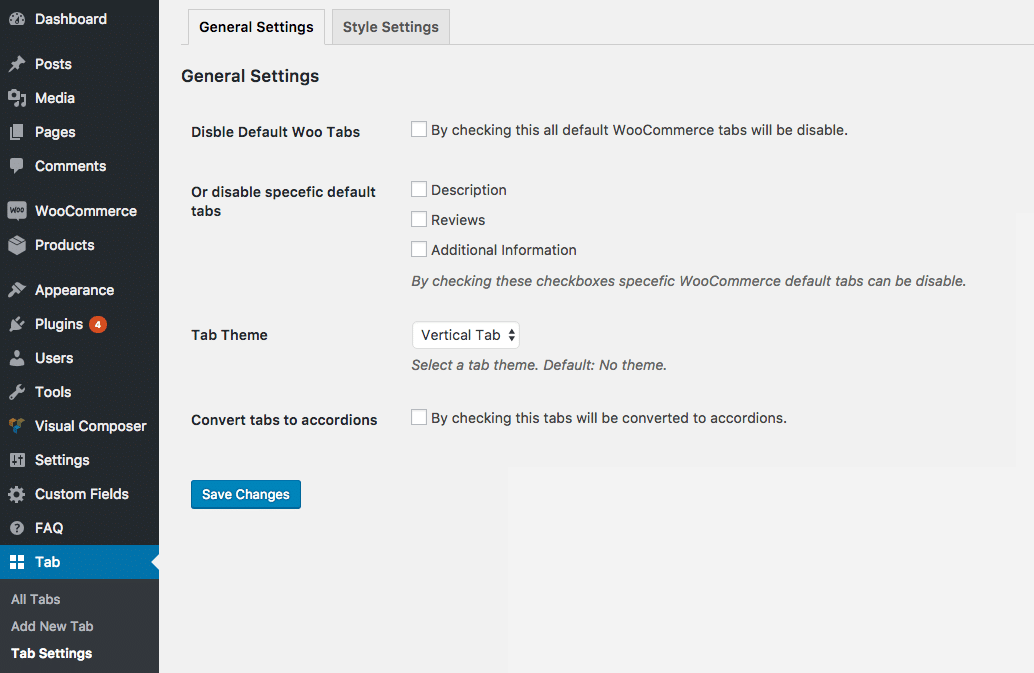
Just read the fields help text for details.
Video Documentation:
Version 1.01 New Features :

Related Posts
How to Create a Vertical Accordion Menu in Elementor
How to Create a Vertical Accordion Menu in Elementor